
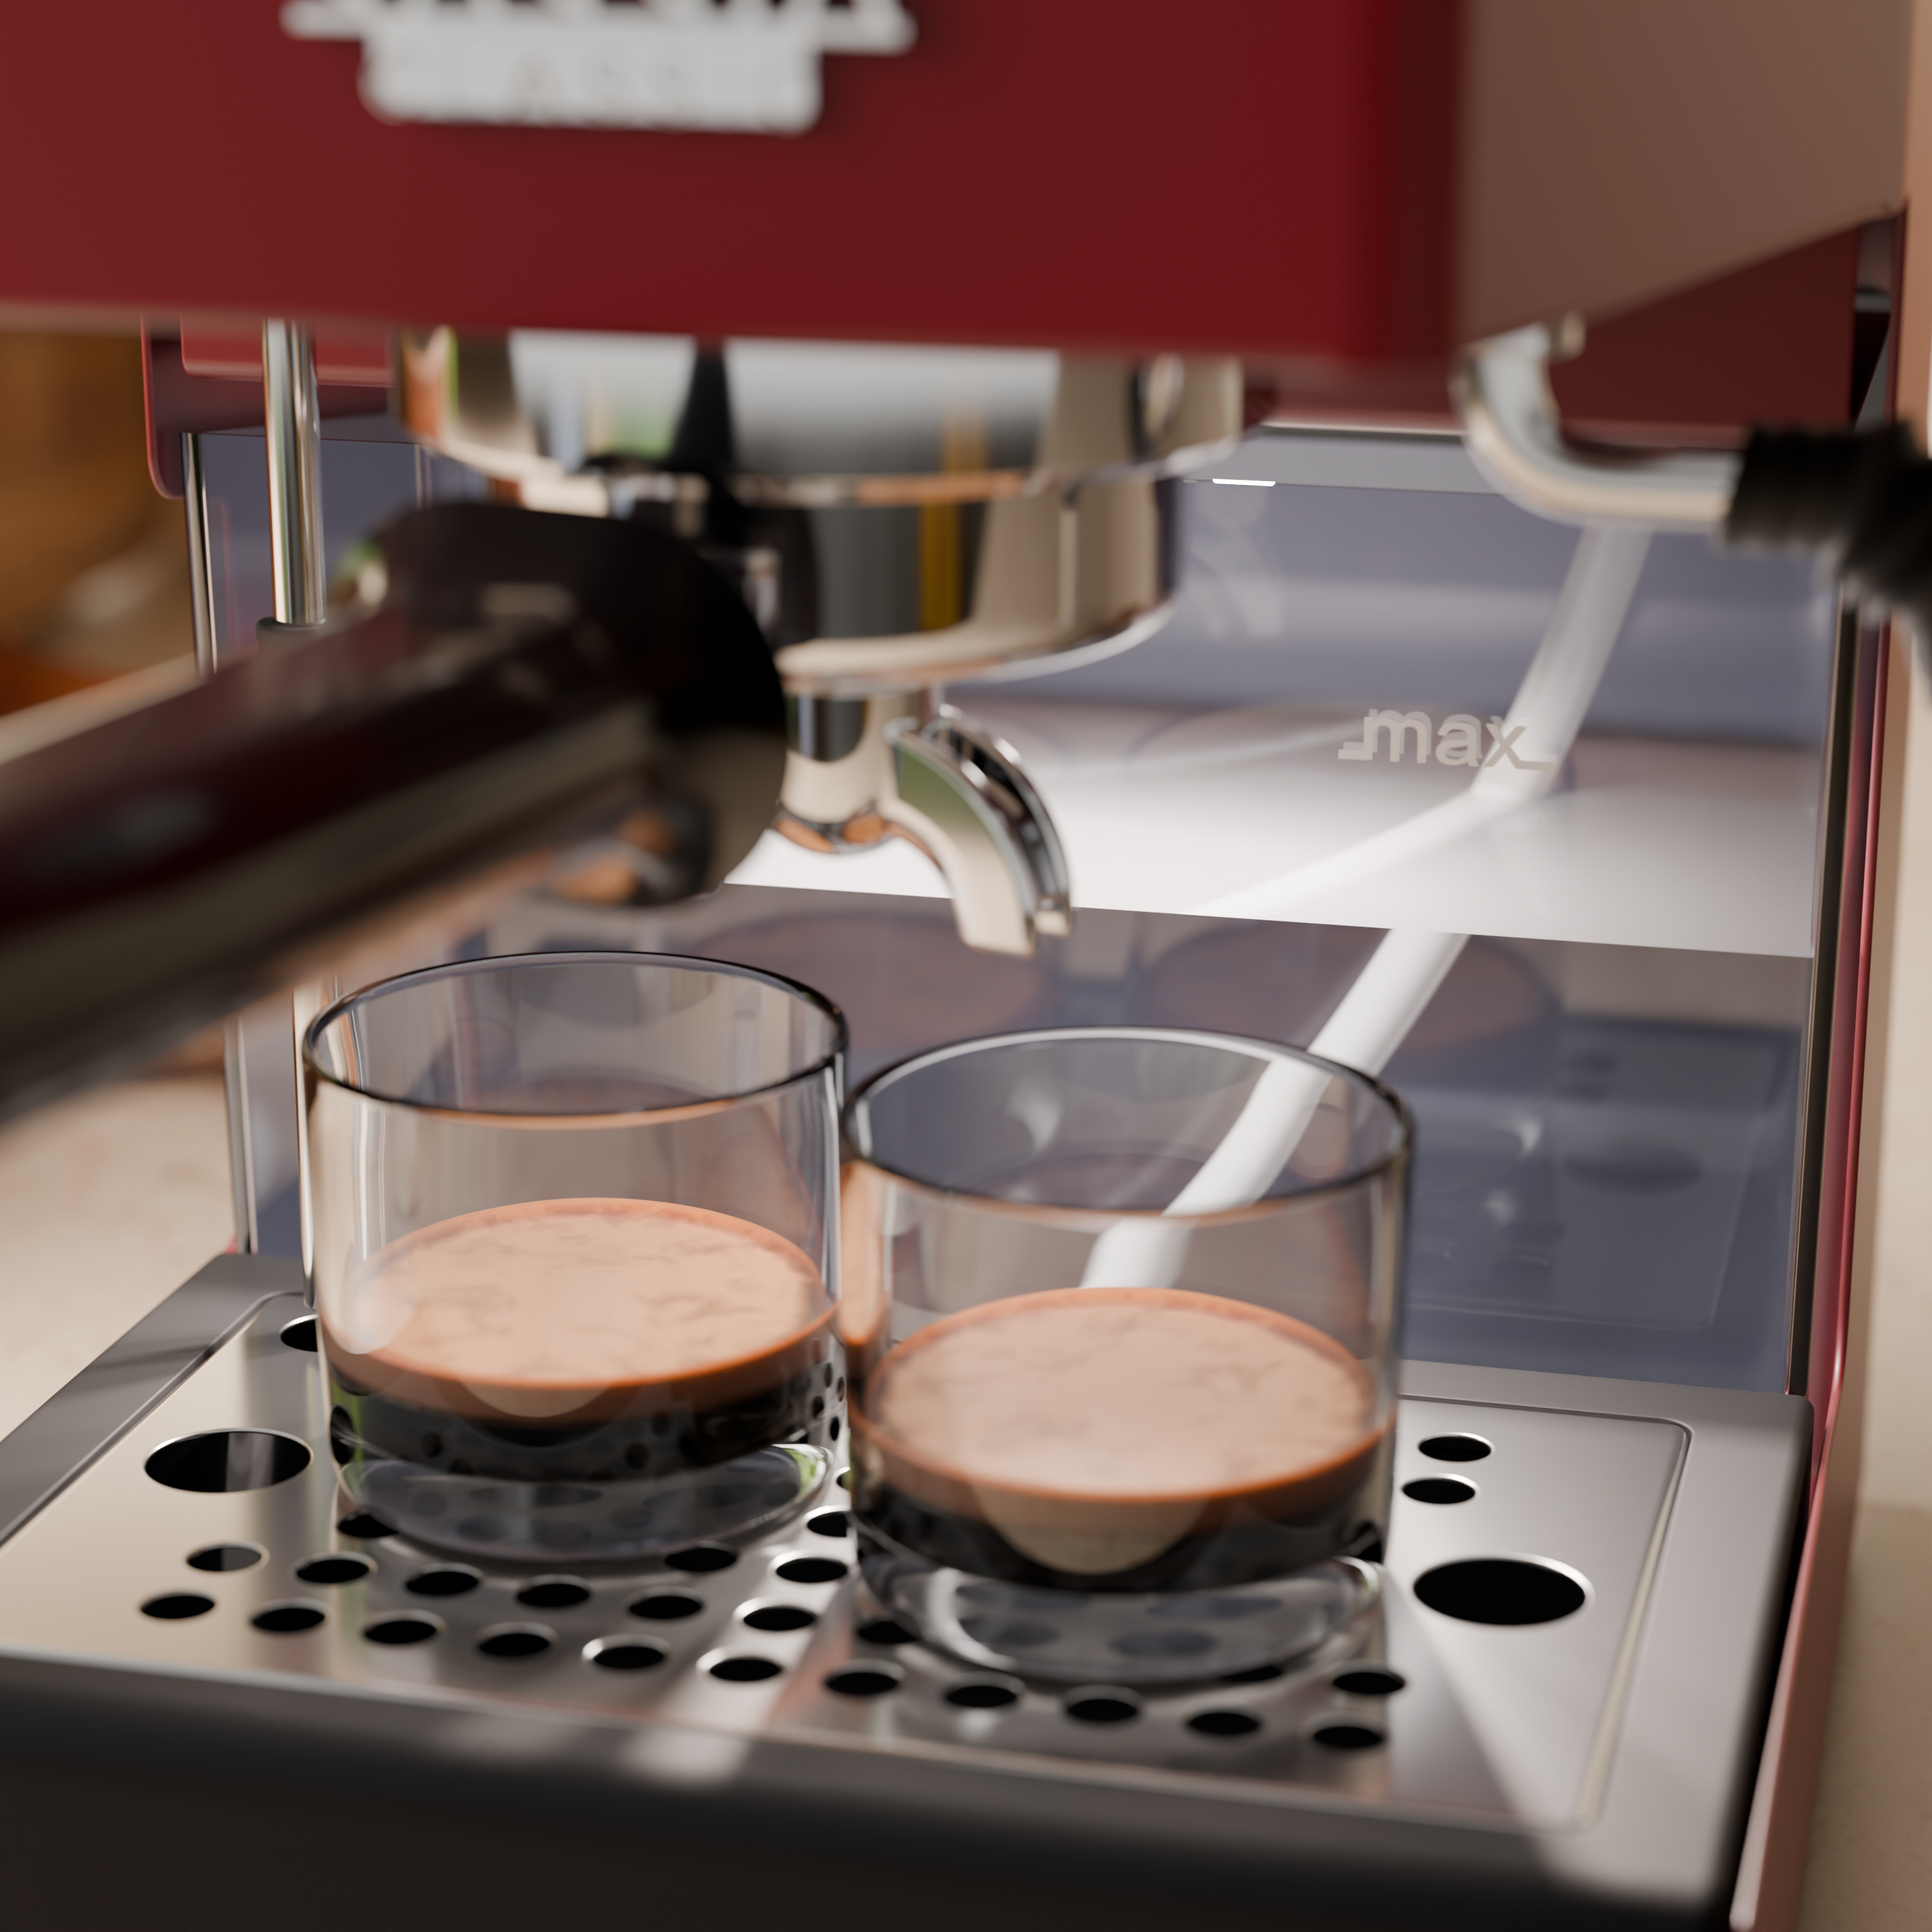
The LED light kit puts a small strip of light above the water tank of your Gaggia Classic, so you can see the water level and the inside of the machine at a glance. It is wired to the machine’s own power switch, so the light comes on when you switch the machine on and goes off with it. This guide walks you through the whole installation, one step at a time.
Watch the video first
Before you open the machine, watch the full installation video once. Turn on the subtitles. The power switch connection is shown in detail at 4:00. The machine in the video is a 2024 EU Gaggia Classic; if yours is a different model, follow the matching section in step 4.

How the kit works
The kit has three parts. The LED strip sits above the water tank. The LED driver turns mains power into a safe 12 V for the strip; its input is universal, 100 to 240 V AC, so it works on mains anywhere. The connection cables join the driver to the strip and to the machine’s power switch.
Before you begin
- Switch the machine off and unplug it from the wall socket.
- Take out the drip tray and the water tank, and wipe the machine dry so no surface is wet.
- Unscrew the top cover with a screwdriver.
- Lift the cover off and move the cables attached to it aside, so you can work freely.
You need: a screwdriver for the top cover, and a small flathead screwdriver if your machine is a Classic Evo.
Installation, step by step
Fit the LED strip above the water tank
Hold the strip over the water tank area to find its place. Peel the backing off the adhesive on the back of the strip, press it firmly into place and hold it for a few seconds so it bonds well.
Mount the LED driver
Route the strip’s cables down into the tank area, then stick the driver in place with its double-sided tape. Keep it away from the very top of the case so the cover still closes, and press it down firmly.
Connect the LED strip to the driver
The strip connects straight to the driver’s screw terminals. Match the colours:
- Red wire to the terminal marked +
- Blue wire to the terminal marked −
Push each wire fully in and tighten its screw so it cannot pull out. Check once more that red sits on + and blue on − before you power anything up.
Power the driver from the power switch
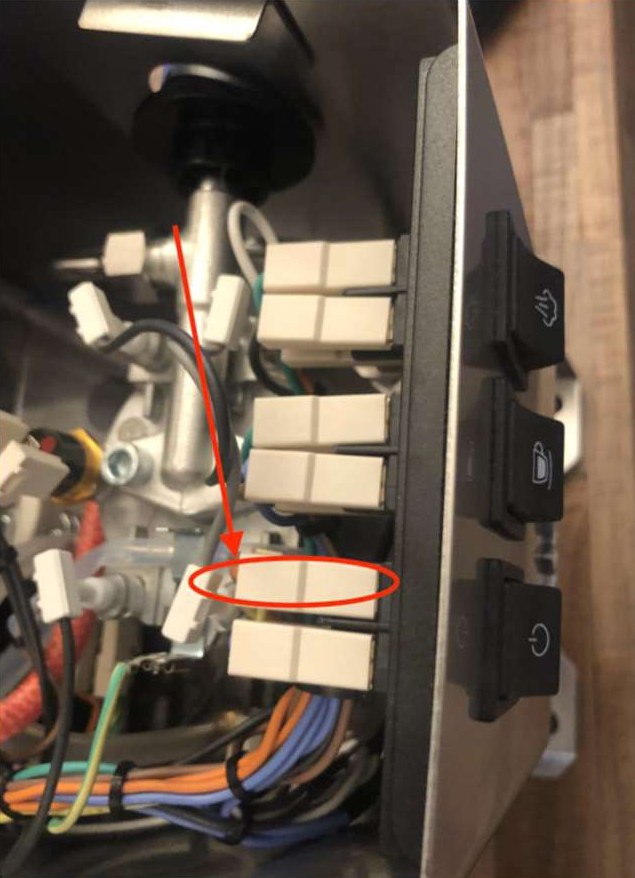
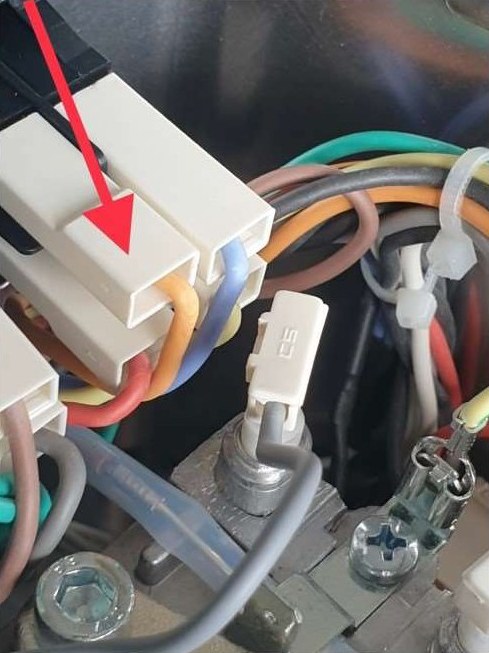
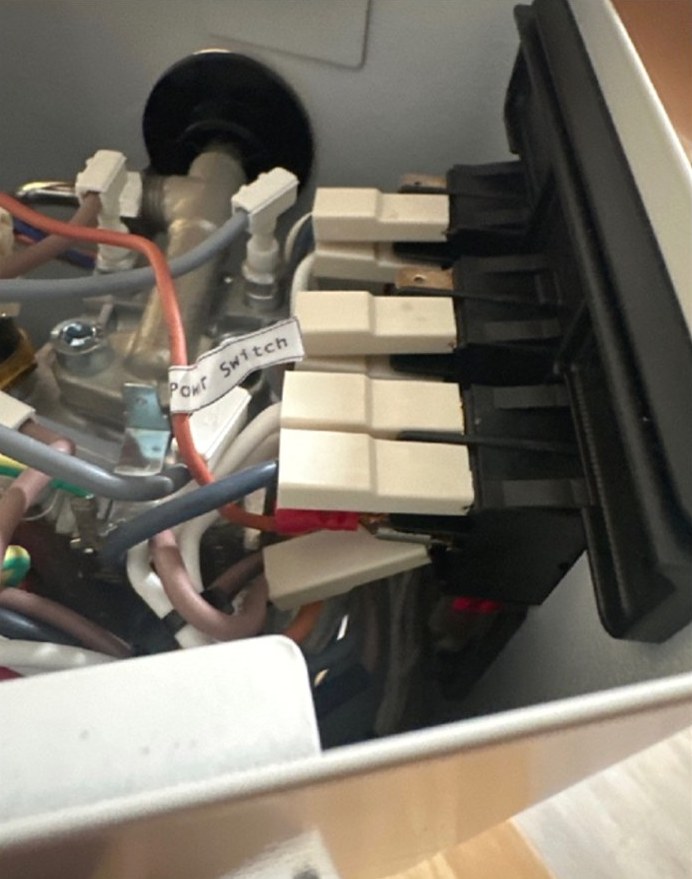
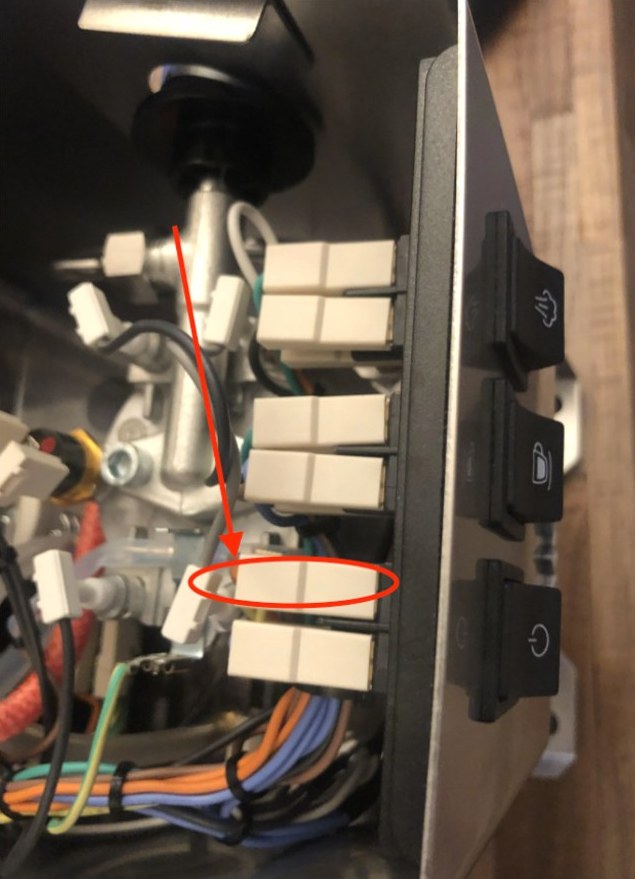
Now feed the driver from the machine’s power switch. Find the switch first: follow the arrow in the photo. The connection differs a little between the two kinds of power switch, so check which one your machine has and follow the matching column.
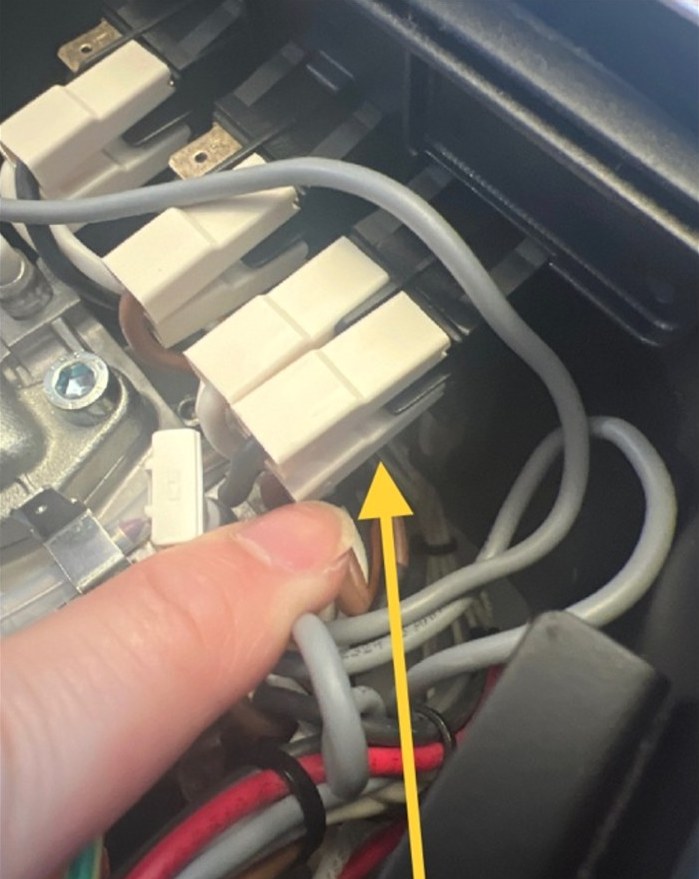
Model 1
Round power button (1 – 0)
If your machine has a round push button, connect the driver through the socket marked in the photos.
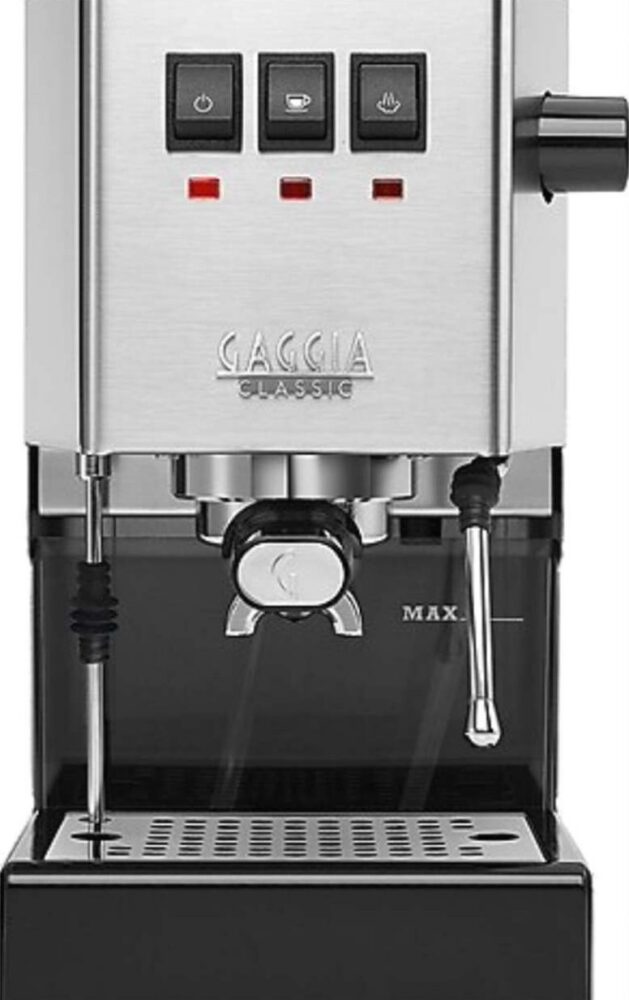
Model 2, EU version
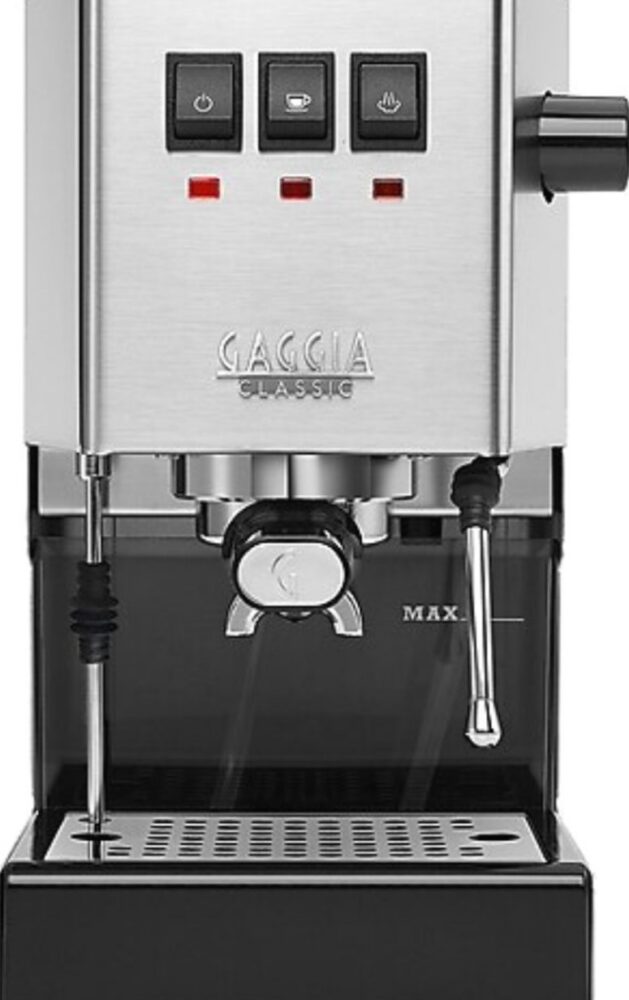
Rocker switches (EU, Evo)
If your machine has rocker switches, connect the driver through the socket marked in the photo.
Connect the driver’s power supply
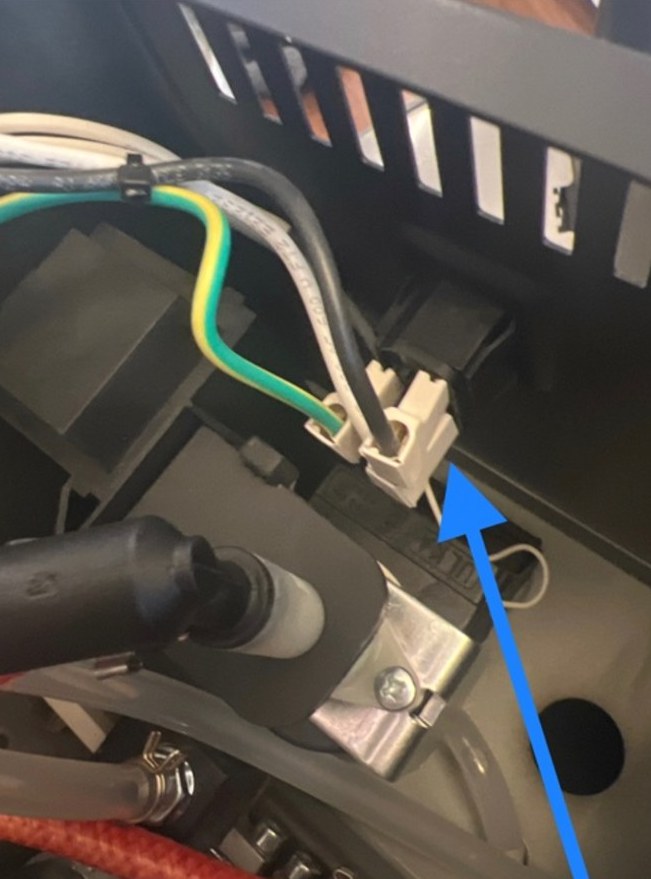
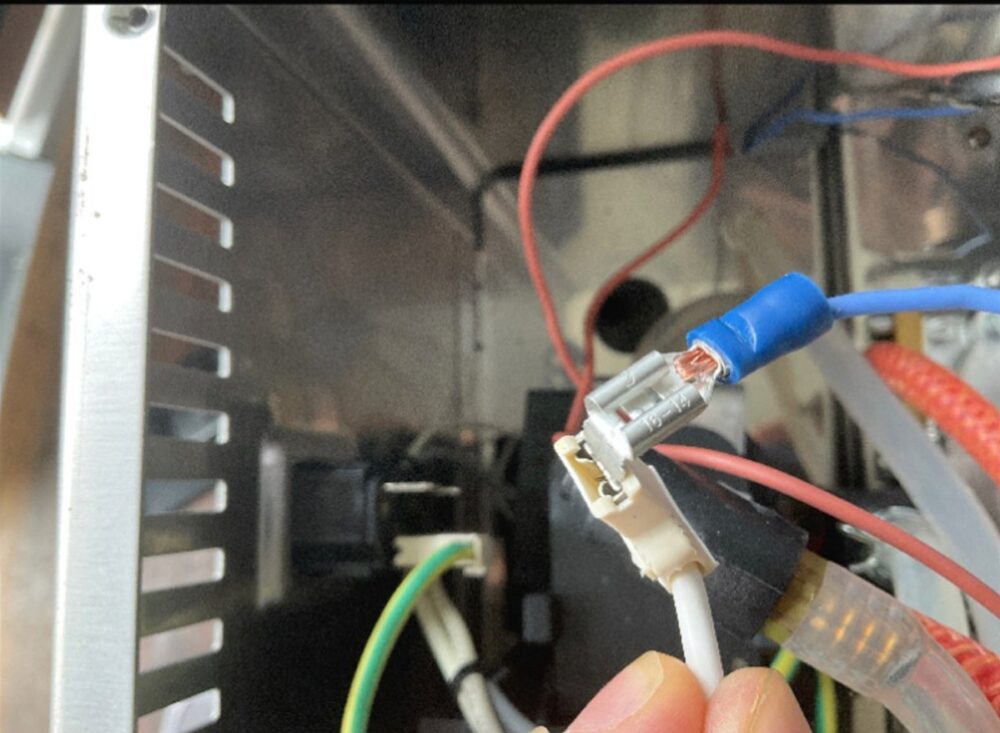
Make the driver’s second connection, the power supply, at the area shown in the first photo. If your machine has an earth wire (green and yellow), attach it as shown. Then join the blue and red supply cables as in the last photo.
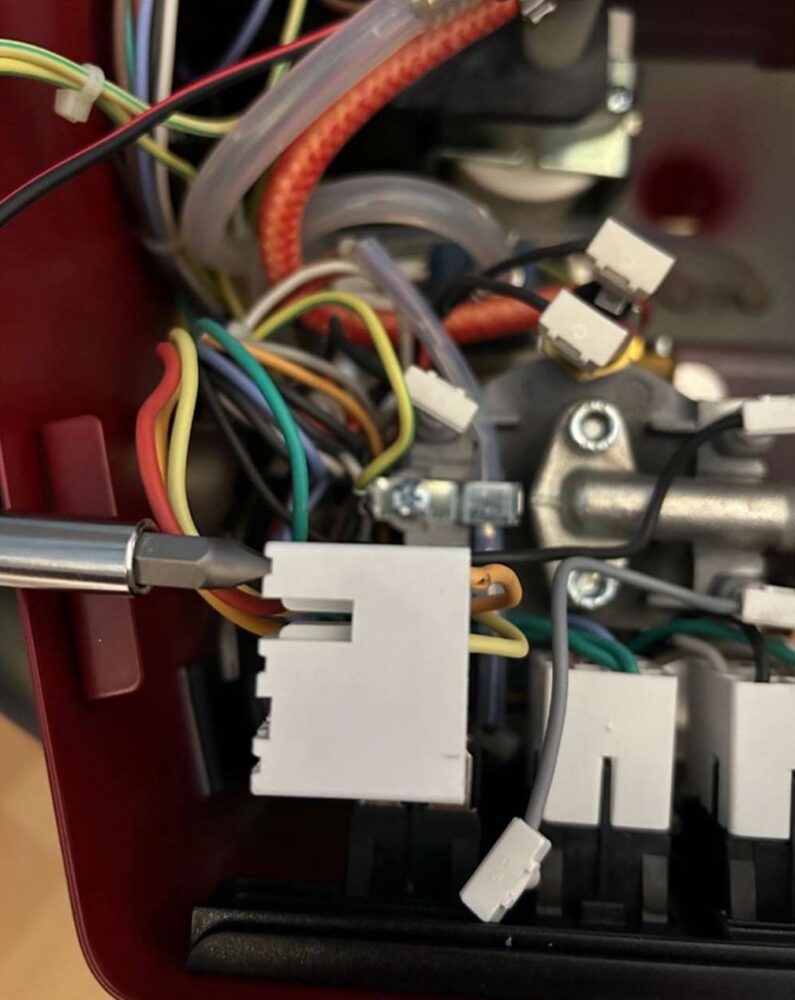
Classic Evo only: remove the socket cover
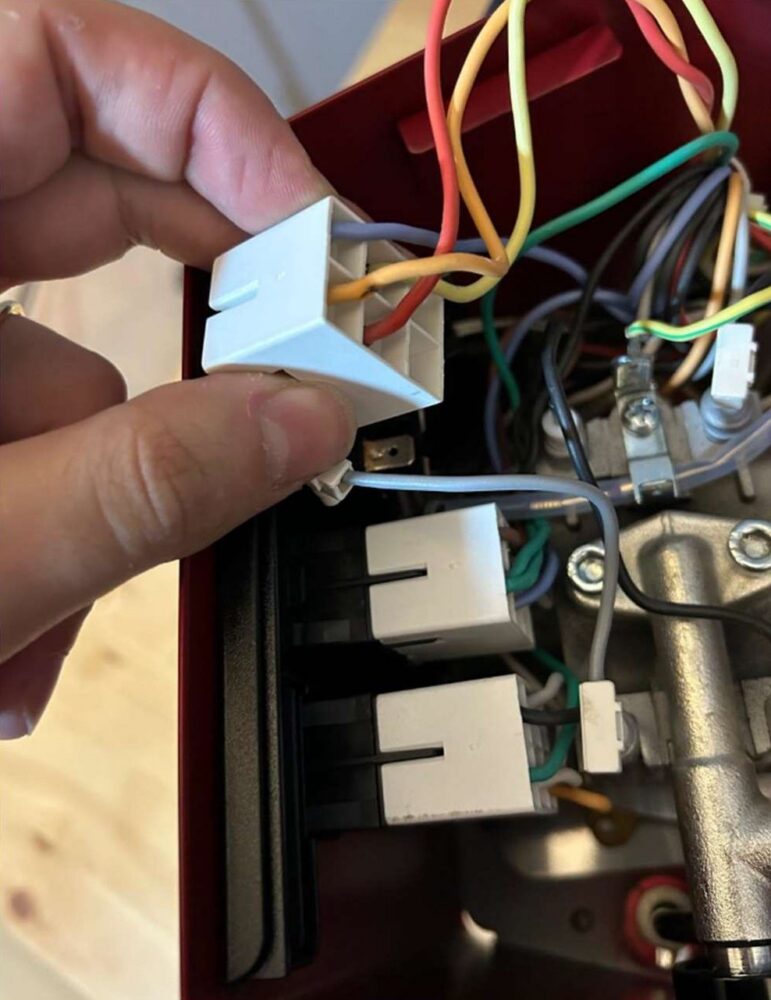
On the Gaggia Classic Evo the sockets have a protective cover that has to come off before you connect. It sits at the bottom left. Lift it off with a flathead screwdriver.
Finishing up
- Check that no bare wire shows anywhere, and gather any extra cable so nothing hangs loose.
- Reconnect the cables you moved when you opened the machine, and put the top cover back on.
- Plug the machine in and switch it on. The light comes on with the machine.
Before you start: read this
Take your time and never work on the machine when you are tired. This guide is a recommendation to help you fit the kit. It is not professional or electrical advice, and the installation and its result are your responsibility.
The work described here happens inside an appliance connected to mains electricity. Done wrong, it can cause serious injury, death, electric shock, fire, or damage to property and to your machine. By following this guide you do so at your own risk. To the extent the law allows, Black Tamp accepts no liability for any loss, injury or damage arising from the installation, use or misuse of the kit or of this guide, or from any error or omission in it.
Opening or modifying your machine may void its manufacturer’s warranty. Always switch the machine off and unplug it before you open it, and check every connection before you plug it back in. If you are not fully sure you can do every step safely, do not go on: ask a qualified electrician or technician.
We share this guide for information only. We do not offer installation support, and we give no guarantee for the installation or its result.


